Table of Contents
Trying to turn key moments from your long YouTube videos into short, shareable clips for TikTok, Instagram, or LinkedIn? You need a process that's fast and repeatable. Getting stuck in complex editing software is not an option when you have a content calendar to fill.
This guide shows you exactly how to take clips from YouTube videos using methods that fit a busy workflow. Success means getting more high-quality content from every video you produce, without spending hours on tedious editing. We'll cover everything from YouTube's simple built-in tools to a powerful AI workflow that automates the entire process.
By the end, you'll have a clear, step-by-step plan to create engaging clips consistently.
Your YouTube Clipping Checklist
- Choose Your Method: Decide if you need a quick shareable link or a downloadable video file for social media.
- Select Your Clip: Identify the key moment you want to highlight.
- Clip It: Use your chosen tool to isolate the segment.
- Format for Social: Resize to vertical (9:16), add dynamic captions, and apply your branding.
- Publish or Schedule: Get your clip out into the world.
Finding the Right Clipping Method
The best method depends on your goal. Are you quickly sharing one moment with a colleague, or are you building a content engine to generate a high volume of clips for social media every week?
This decision tree simplifies the choice. It boils down to two main paths.
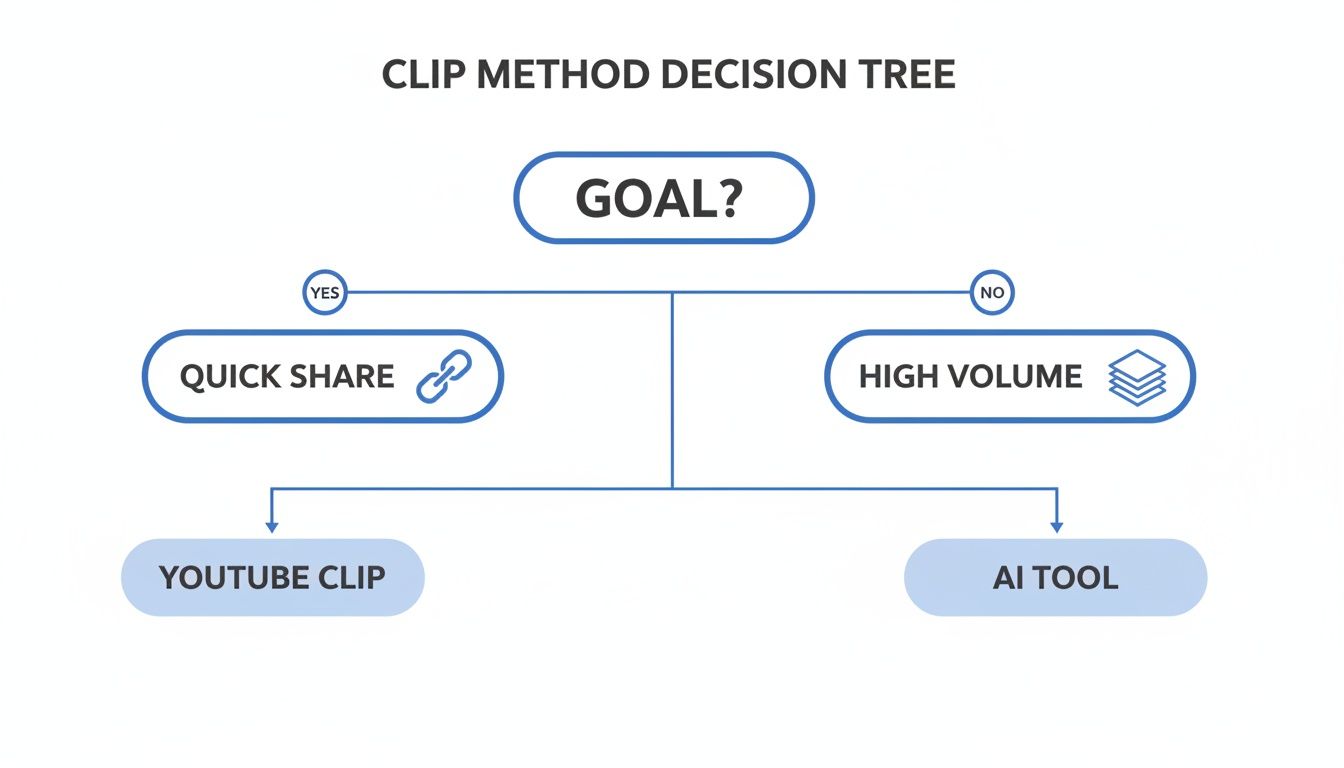
If you just need a quick, shareable link, YouTube's native 'Clip' feature is fastest. But for anyone serious about creating a consistent flow of social media content, an AI-powered tool is the clear winner for speed and scale.
Comparing Your Options at a Glance
To make this decision even clearer, here's a side-by-side comparison of the common methods. Knowing their strengths upfront will save you time.
The right choice lets you create more content in less time, freeing you up to focus on strategy instead of tedious editing.
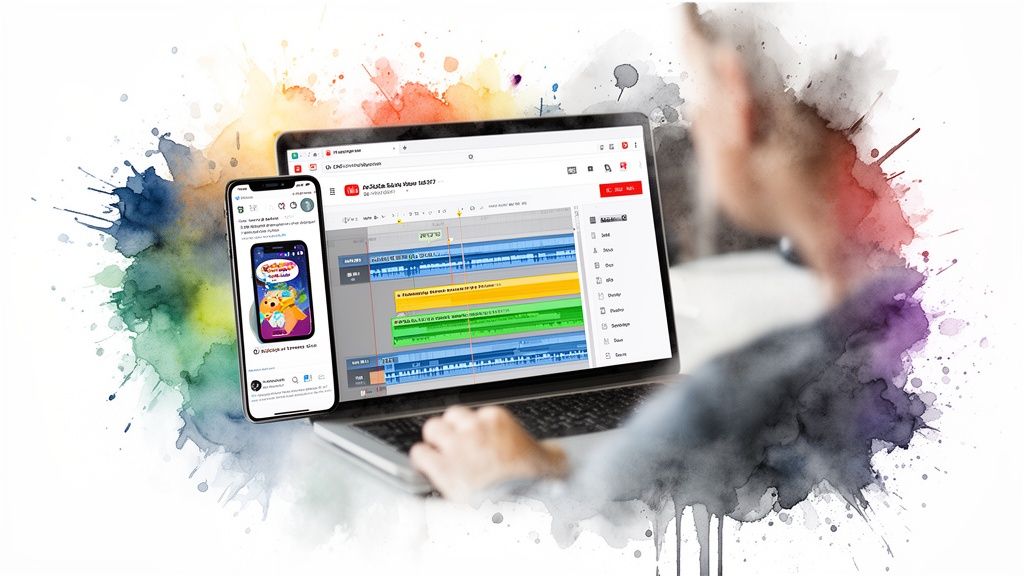
How to Take Clips from YouTube Videos with AI (The Automated Way)
For busy creators and marketers, manually chopping up a long YouTube video into dozens of social clips is a workflow killer. What if you could go from a full-length video to a batch of platform-ready clips—with captions and branding—in minutes?
That's where an automated AI workflow comes in. We'll walk through this process using Flowjin, an AI-powered platform for creators and marketers that turns long videos into branded, social-ready clips without the manual grind.
You just paste a YouTube link, and its AI finds the most engaging moments, smart-crops the footage for vertical formats, adds animated captions, and applies your brand kit automatically.
Here’s your starting point—a simple field to paste your YouTube URL.
No downloads, no messy file transfers. Just grab a link and go.
Step-by-Step AI Clipping Workflow
Flowjin’s AI analyzes your video for engagement markers like vocal excitement and visual changes to find the best moments. The process is refreshingly simple.
- Paste your YouTube video URL into the import field.
- Let the AI find highlights. It will scan the video and suggest the most engaging clips.
- Review and refine. You'll see the clips in a timeline. Adjust the start or end points with simple drag handles.
- Brand and export. Apply your brand kit (logo, colors, fonts) and choose your output formats for TikTok, LinkedIn, or Instagram Reels.
This automated process is crucial. In 2023, YouTube Shorts viewership hit over 70 billion daily views. Repurposing your long-form content into Shorts isn't just a "nice to have," it's essential for reaching a wider audience. You can read more about these YouTube Shorts statistics on Neal Schaffer.
To see how you can apply this to your own channel, check out our AI YouTube Shorts maker for a deeper look at optimizing your workflow.
Quick Tips for a Faster AI Workflow
To really speed things up, here are a few pro tips:
- Set up your brand kit as a preset. Save your logos, fonts, and color palettes to apply them to any clip with one click.
- Use keyboard shortcuts. Get familiar with shortcuts to quickly preview clips without clicking around.
- Schedule as you go. Don't let finished clips sit in a folder. Schedule them right away to maintain a consistent posting cadence.
Shifting to an automated workflow like this can save you hours every week, turning content repurposing from a chore into a core part of your growth strategy.
Using YouTube's Built-In Clipping Tools
Sometimes, you don't need a full-blown editing suite. For quick shares, YouTube has two built-in options that let you clip videos right on the platform.
These native features are perfect for informal sharing or making simple tweaks to your own content without leaving YouTube.
The 'Clip' Feature for Quick Sharing
The most straightforward way how to take clips from YouTube videos is the Clip button. This tool is designed for sharing short segments of any public video with a simple link. It's fast and available to any viewer.
Here’s the quick rundown:
- Find the video you want to clip and click the Clip button (it looks like a pair of scissors).
- An editor pops up, letting you select a segment between 5 and 60 seconds long.
- Give your clip a title.
- Click "Share clip" to get a unique link.
This is perfect for pointing out a specific quote or sending a quick highlight to a team member. The big catch? It only creates a shareable link. It doesn't give you an MP4 file that you can download and re-upload to Instagram or TikTok.
The 'Trim' Function in YouTube Studio
If you're a creator looking to edit your own uploaded videos, YouTube Studio offers the Trim & cut feature. This tool lets you permanently remove sections from your video.
It’s handy for chopping out a slow intro or a mistake. But for social media repurposing, the Trim function has serious limitations:
- No Aspect Ratio Changes: You can't turn your horizontal (16:9) video into a vertical (9:16) clip for Reels or TikTok.
- No Branding Options: You can't add custom captions or logos.
- Limited Creative Control: It’s only for trimming.
The Trim tool is best for cleaning up your existing YouTube videos, not for creating a steady stream of engaging content for other social networks. For a direct and easy method using the platform's native functionality, you can learn more about how to create clips from YouTube videos.
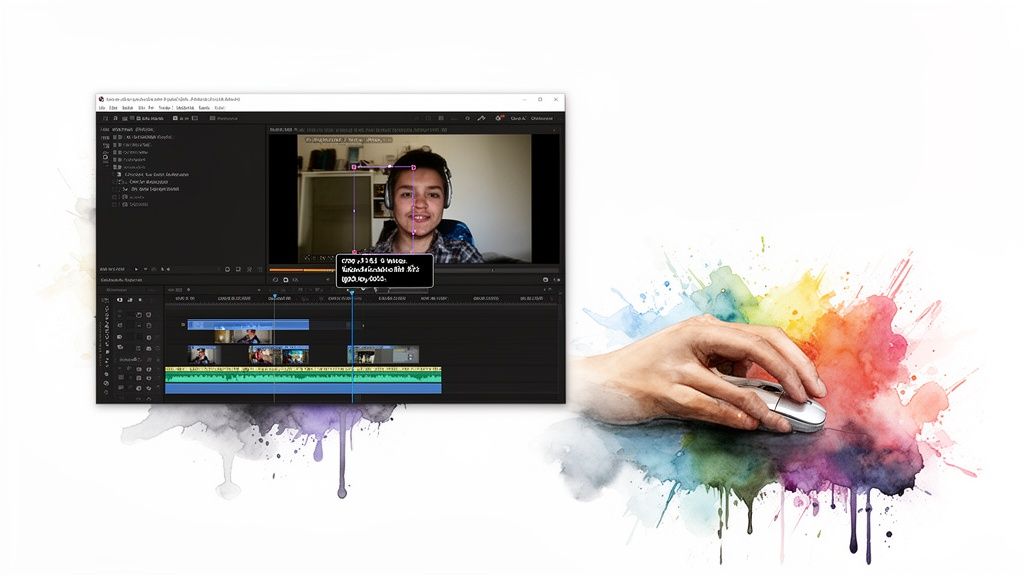
The Manual Download and Edit Workflow
When you need total creative freedom and aren't using an AI platform, the old-school download-and-edit workflow is your go-to. While this method gives you frame-by-frame control, it's also the most time-consuming.
This is a three-part process: download the source video, import it into an editor, and manually craft your clip.
Getting the Video File
First, you need to get the video off of YouTube. You'll have to rely on a third-party YouTube downloader tool. Be smart about which ones you use—some are safer and more reliable than others.
A Quick Word on Copyright: Always respect copyright and YouTube's terms of service. This manual method is best for repurposing your own content. Using someone else's video without permission can lead to copyright strikes.
With the MP4 file saved, you're ready for editing.
Editing and Polishing Your Clip
Import the video file into a dedicated video editor like CapCut or a professional tool like DaVinci Resolve. The right choice depends on your comfort level. You can check out some of the best Reel editing apps in 2024 for more options.
Inside the editor, scrub through the footage to find the perfect moment. Make precise cuts to trim the beginning and end, ensuring your clip is tight and gets straight to the point.
Formatting for Social Media
Once you've isolated your clip, the final step is optimizing it for each social platform. This is where the manual process becomes a real grind.
- Going Vertical: Reframe your horizontal (16:9) video for a vertical (9:16) screen for platforms like TikTok, Instagram Reels, and YouTube Shorts.
- Adding Captions: Manually transcribe the audio and add captions to catch viewers scrolling with sound off. This means typing out every word and timing each line to sync with the video.
- Branding It: Add your logo, brand colors, or other graphic overlays.
- Exporting: Export the finished clip with the right format and resolution for each platform you plan to post on.
While this workflow gives you ultimate control, the time it takes for every clip makes it difficult to produce content consistently at scale.
Best Practices for Clips That Actually Get Watched
Knowing how to take clips from YouTube videos is a technical skill. Knowing how to make them stop the scroll is an art.
Here are a few core principles that consistently deliver high-performing short-form video.
Hook Them Fast, Keep It Tight
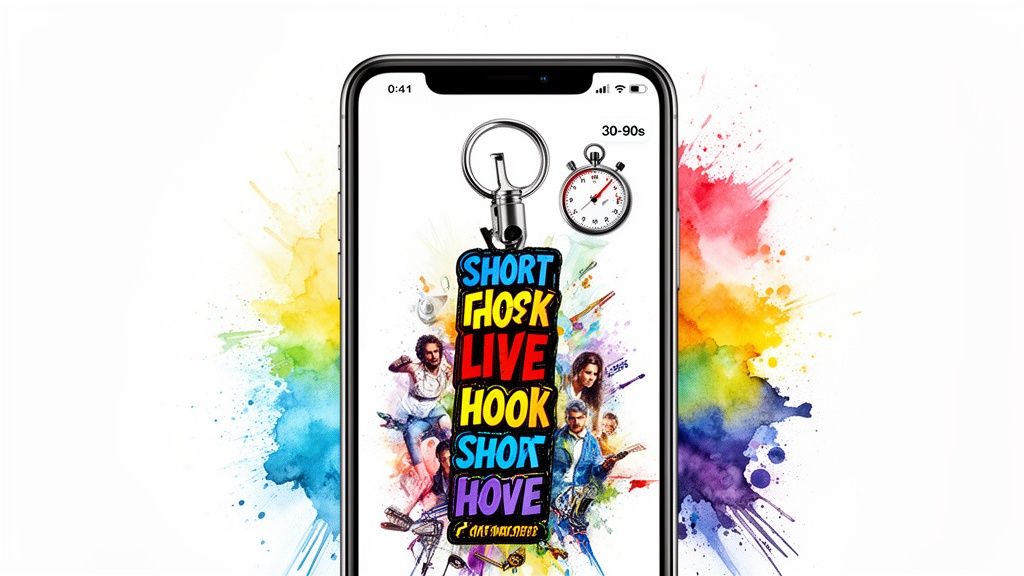
You have three seconds. Your clip’s opening needs an immediate hook—a provocative question, a bold statement, or a surprising visual. Get straight to the point.
The sweet spot for most social clips is between 30 and 90 seconds. This is just enough time to deliver a complete idea but short enough to hold attention.
Data shows this works. By 2026, 71% of marketers are expected to agree that short-form videos between 30 seconds and 2 minutes perform best. You can find more data on these video marketing trends over at visla.us.
Captions Are Non-Negotiable
A huge amount of social video is watched with the sound off. If your clip has speaking, you must add captions.
Use dynamic, animated captions that highlight keywords as they’re spoken. They make your content accessible to anyone without audio and guide the viewer’s eye, keeping them engaged.
Think of captions as a visual tour guide for your content. They are a critical design element that can make or break viewer retention.
Format for the Phone, Not the TV
Your original YouTube video is horizontal (16:9). For platforms like TikTok, Instagram Reels, and YouTube Shorts, you must reformat your clips to a vertical 9:16 aspect ratio.
This makes your video fill the entire screen, creating a more immersive and native viewing experience.
Need some ideas for your next vertical video? Get your creative juices flowing with these YouTube Shorts ideas.
Common Questions About Clipping YouTube Videos
Let's clear up some common questions about clipping YouTube videos.
What is the maximum length for a YouTube clip?
YouTube's built-in 'Clip' feature is limited to 60 seconds. If you need longer highlights, an automated tool like Flowjin lets you define custom lengths and gives you a downloadable MP4 file.
Is it legal to clip someone else's YouTube video?
Clipping videos you don't own carries a real risk of copyright strikes. The safest approach is to only clip your own content. If you must use someone else's footage, you need their explicit permission. Relying on "fair use" can be legally complicated and is not recommended for general social media content.
What's the best video format for clips?
For TikTok, Instagram Reels, and YouTube Shorts, use a vertical 9:16 aspect ratio with a resolution of at least 1080×1920 pixels. Export as an MP4 file using the H.264 codec, which offers a great balance of quality and file size.
When should I use Flowjin instead of YouTube's tools?
If you're creating a consistent stream of content for social media, an AI-powered workflow is a game-changer. Flowjin finds the highlights for you, adds branded captions, and resizes clips for any platform. It's built for scaling your content production without scaling your workload, saving creators up to 80% of their editing time.
How do I download clips from YouTube?
YouTube's native 'Clip' feature does not provide a downloadable video file; it only generates a shareable link. To get a downloadable MP4 file, you need to use a third-party tool like a YouTube downloader or a dedicated clipping platform like Flowjin, which exports standalone files ready for upload.
Can I edit captions after clipping a video?
Yes, and you should. Good captions are crucial for engagement. With a tool like Flowjin, you can edit the auto-generated text to fix errors, improve clarity, and style the captions to match your brand's look and feel, all within the app.