
Table of Contents
The best video file format for Instagram is MP4. Inside that MP4 file, you need the H.264 video codec and AAC audio. This is the universal recipe for Reels, Stories, and Feed videos that upload without errors and look sharp on any device.
Sticking to this format ensures your content avoids common issues like blurry playback, silent videos, or outright upload failures.
This guide will give you a quick checklist for the correct settings and a simple workflow to get it right every time, so you can spend less time in export menus and more time creating.
Instagram Video Format: The Quick Checklist
For busy creators, you don't need to know every technical detail—you just need the settings that work. Here's a quick reference guide to ensure your videos are always optimized for Instagram.
Universal Settings for All Placements:
- Audio Codec: AAC
- Frame Rate: 30 fps (frames per second)
- Video Bitrate: 3,500 kbps (kilobits per second)
- File Size Limit: 4 GB
Bookmark this page. Using these exact settings is the fastest way to prevent Instagram's compression from ruining your video quality.
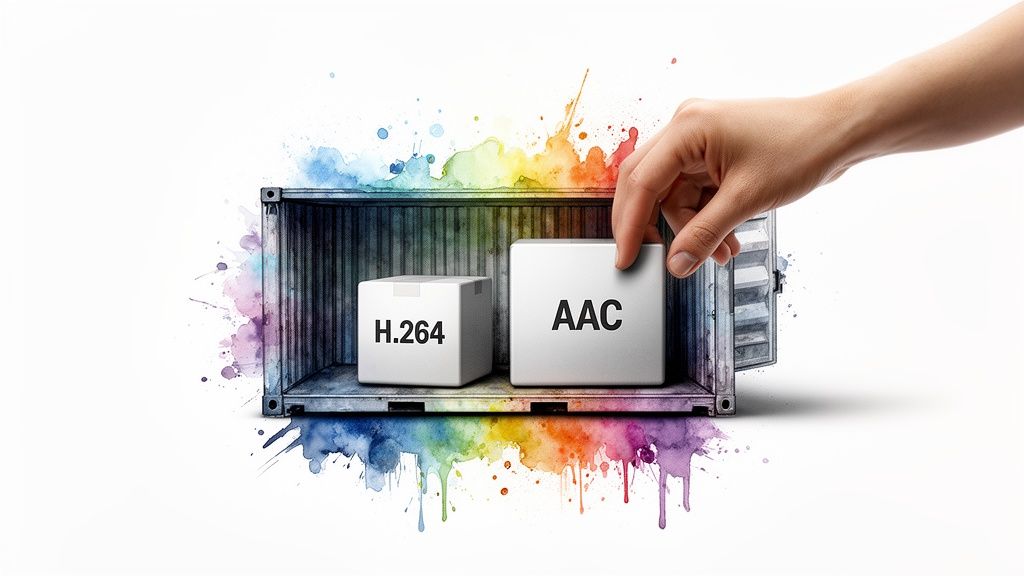
Why MP4 with H.264 is the Right Video File Format for Instagram
Think of the MP4 format as a universal shipping container. It’s a standard box that Instagram’s system knows exactly how to handle, making uploads smooth and predictable.
Inside that container, the H.264 video codec and AAC audio codec are the compression methods that shrink your file size without destroying the quality. This combination is your best defense against upload errors, blurry videos, and silent playback.
This standard ensures a consistent, smooth experience for the millions of people scrolling on their phones. For a deeper dive into all the nuances, check out an ultimate guide to the perfect format for Instagram videos.
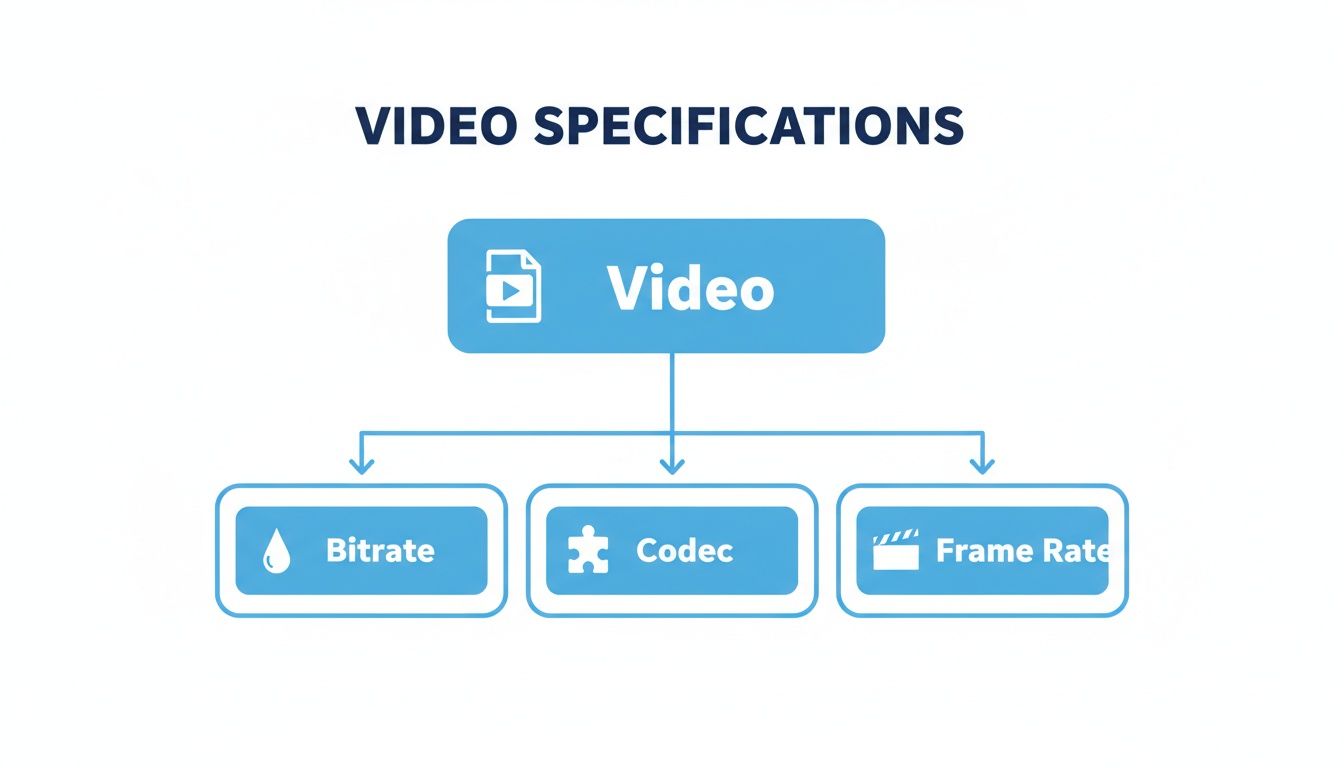
Understanding the Key Video Specs
Knowing why these settings matter helps you troubleshoot problems fast. Let's briefly break down the three most important technical terms.
1. Video Codec (H.264)
A codec (coder-decoder) compresses your large raw video file into something manageable for uploading, then decompresses it for viewing. The H.264 codec is Instagram's preferred choice because it offers the best balance between high quality and small file size.
Using H.264 ensures your video is understood and displayed correctly by Instagram's servers.
2. Video Bitrate (3,500 kbps)
Bitrate is how much data is packed into each second of your video. It directly controls both visual quality and file size.
- Low bitrate: The video looks blurry or blocky, especially during motion.
- High bitrate: The image is sharp, but the file size is huge, leading to slow uploads.
For Instagram, a video bitrate of 3,500 kbps is the sweet spot. It provides enough detail for a sharp 1080p video on a phone screen without making the file too large, which helps prevent Instagram's aggressive re-compression from ruining your quality.
3. Frame Rate (30 fps)
Frame rate is how many individual images (frames) are shown per second to create motion. 30 fps (frames per second) is the standard for online video and gives you the smooth, natural motion everyone is used to seeing on social media.
How to Get the Perfect Instagram Video Format Every Time
Knowing the specs is one thing, but actually putting them into practice without wasting time is the real challenge. Here are two simple, repeatable workflows to get perfectly formatted Instagram videos.
Workflow 1: The Automated Method (Fastest)
For busy creators and marketers, the smartest move is to automate the technical work. This is where Flowjin, an AI platform that automatically transforms long-form videos and podcasts into social-ready clips for creators and marketers, comes in. It helps you generate dozens of clips without touching an export menu.
Instead of tweaking settings for every clip, you can repurpose content you already have.
- Start with long-form content: Upload your webinar, interview, or podcast video into Flowjin.
- Let AI find the clips: Flowjin's AI analyzes your content, finds the most shareable moments, and creates short video clips.
- Get perfectly formatted videos: It automatically sets the 9:16 aspect ratio for Reels, adds dynamic captions, and exports them as Instagram-ready MP4 files with the correct H.264 codec.
This workflow completely removes the need to manually manage the video file format for Instagram. You can explore how it works with our AI Instagram Reels creator.
Workflow 2: Manual Export in Video Editors
If you're creating a video from scratch in a tool like Adobe Premiere Pro or DaVinci Resolve, you’ll need to set up your export settings manually. Here’s a quick guide.
In Adobe Premiere Pro:
- Format: Choose H.264. This creates the universal MP4 file.
- Video Tab: Set your Resolution (e.g., 1080x1920 for Reels), Frame Rate (30 fps), and Aspect Ratio ("Square Pixels (1.0)").
- Bitrate Settings: Choose VBR, 1 pass and set the Target Bitrate to 3.5 Mbps (which is 3,500 kbps).
In DaVinci Resolve:
- Format: On the Deliver page, select MP4.
- Codec: Choose H.264.
- Resolution & Frame Rate: Match your project settings (e.g., 1080 x 1920) and set the frame rate to 30.
- Quality: Check "Restrict to" and enter 3,500 Kb/s to lock in the bitrate.
While manual exports give you control, automating the process is faster and more reliable for creating content at scale. For more tips on content strategy, see this guide on creating viral Instagram Reels.
Common Mistakes and How to Fix Them
There’s nothing worse than spending hours on a video, only to have Instagram ruin it. These problems almost always come from small, fixable mistakes in your export settings.
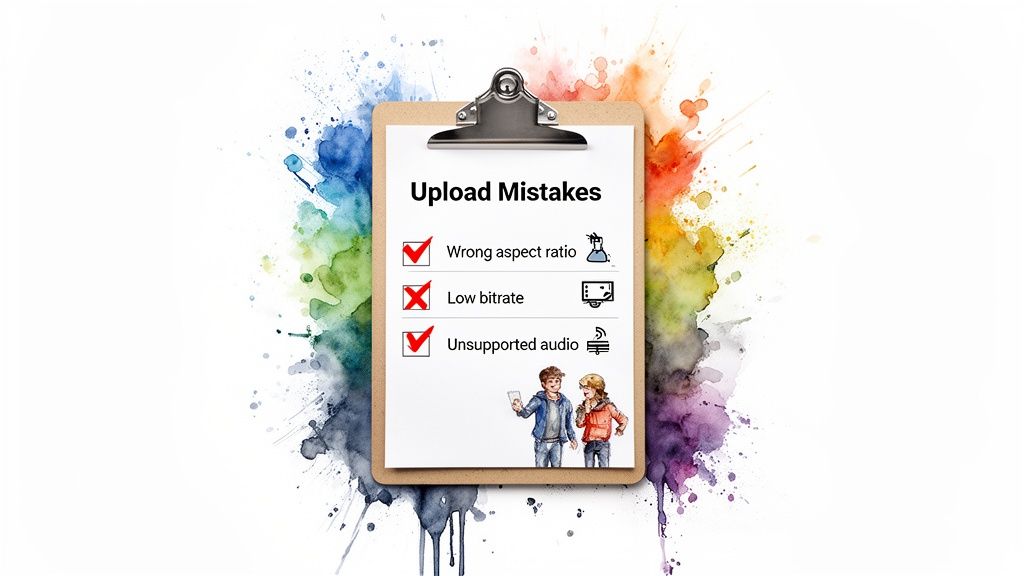
Here is a checklist of the most common errors and their fixes.
- Fix: Always edit in the correct aspect ratio from the start. Use 9:16 (1080x1920) for Reels/Stories and 4:5 (1080x1350) for Feed videos.
- Fix: Export with a video bitrate of at least 3,500 kbps.
- Fix: Always use AAC audio. It’s the universal standard and works every time.
- Fix: Always export to MP4. It’s the platform’s native format.
Automating your workflow is the best way to avoid these mistakes entirely. If you're looking for a tool to handle this for you, exploring the best AI Reel generators is a game-changer.
Frequently Asked Questions
Let's tackle the most common questions about Instagram video formats.
Why does my video look blurry after I upload it to Instagram?
This happens because of Instagram’s compression. The platform re-compresses every video to ensure it streams smoothly on mobile devices. If your original file has a low bitrate or wrong format, Instagram's compression will magnify the flaws.
The fix is to upload a high-quality source file. Always use MP4, H.264 codec, 1080p resolution, and a bitrate of 3,500 kbps. This gives the algorithm better material to work with, resulting in a cleaner final video.
Can I upload a MOV file to Instagram?
Technically, yes, but you shouldn't. While Instagram sometimes accepts .MOV files, it’s a gamble. The MP4 format is the native language of web video and is far more reliable. Uploading a MOV can cause longer processing times, visual glitches, or upload failures. Save yourself the headache and always convert to MP4 before uploading.
What's the difference between Reels and Stories video formats?
From a technical perspective, there is no difference. Both Reels and Stories use the same settings for the best results:
- Aspect Ratio: 9:16
- Resolution: 1080x1920 pixels
- File Format: MP4
The only difference is their purpose and length. Stories are for your current followers (up to 60 seconds), while Reels are for reaching new audiences (up to 90 seconds).
How can I turn my long podcast into Instagram videos easily?
Manually editing a long podcast into multiple short, vertical clips is incredibly time-consuming. The fastest method is to use an AI repurposing tool.
A platform like Flowjin can take your long-form audio or video, automatically find the most engaging highlights, and format them perfectly for Reels (9:16 aspect ratio, MP4 container, H.264 codec). It also adds dynamic captions and branding, saving you hours of tedious work.
Stop wrestling with export settings and manually clipping your content. Flowjin uses AI to turn your long-form videos and podcasts into a month's worth of social-ready clips in minutes, all perfectly formatted for Instagram. See how it works at https://www.flowjin.com.
.png)