Table of Contents
Learning how to record a podcast is about building a repeatable workflow. You want to capture professional-quality audio, edit it efficiently, and get your episode published without spending days on production. Success means having a clear, step-by-step process you can follow for every episode.
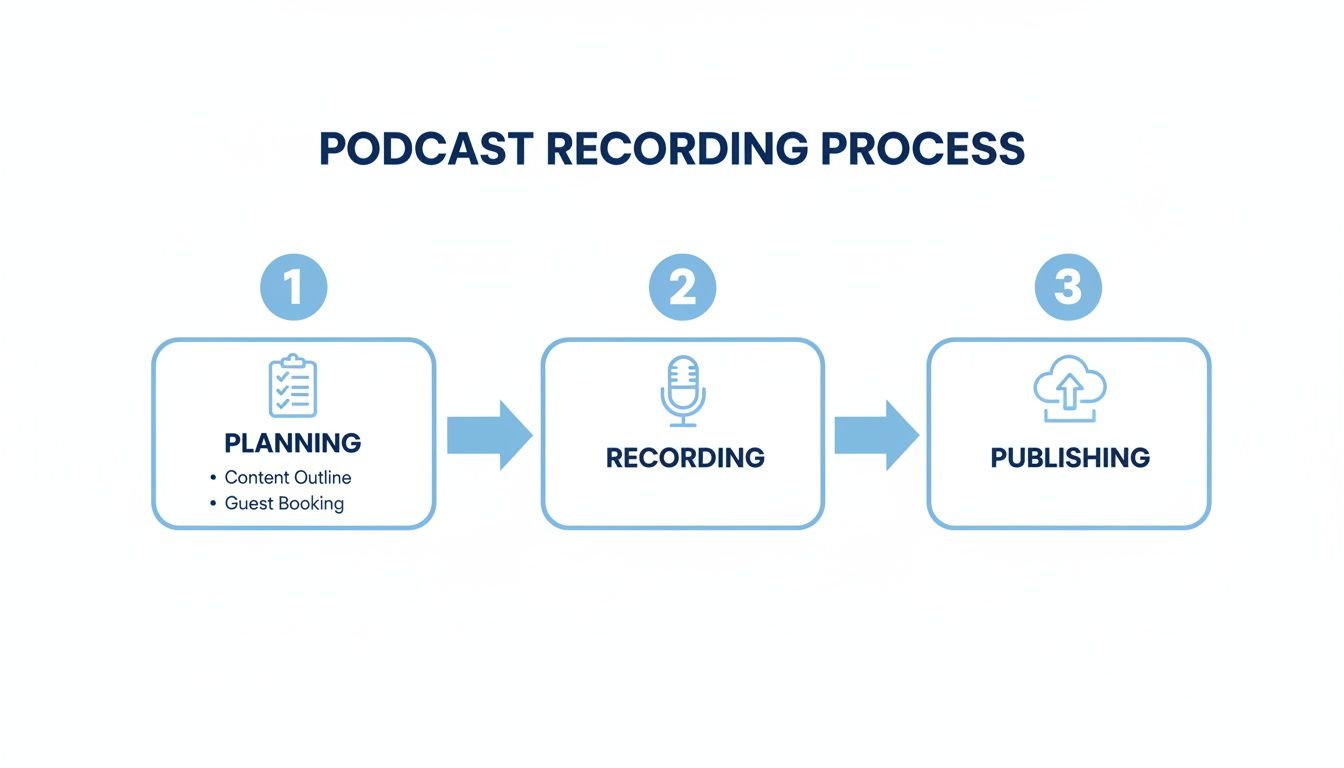
This guide will walk you through a simple 5-step system: planning your content, choosing the right gear, setting up your space, recording the audio, and turning your final episode into a week's worth of promotional content.
Your 5-Step Podcast Recording Checklist
Before we dive in, here’s a quick checklist of the entire podcast recording workflow. This is your high-level roadmap from idea to published episode.
- Plan the Episode: Choose your topic, define your format (solo, interview, etc.), and create a simple bullet-point outline.
- Choose Your Gear: Select a microphone (USB is great for beginners), headphones, and recording software.
- Set Up Your Space: Find a quiet room with soft furnishings to absorb echo. Test your microphone placement and set your audio levels.
- Record the Audio: Hit record, follow your outline, and focus on delivering a clear, engaging performance.
- Edit & Repurpose: Clean up mistakes, add intro/outro music, and use a tool to create promotional clips for social media.
This workflow turns a potentially overwhelming task into manageable steps, helping you produce a high-quality show consistently.
Step 1: Plan Your Episode for an Easy Recording
A great podcast episode is built before you hit record. Planning isn't about writing a rigid script; it's about creating a simple framework that keeps your content focused and makes the editing process much faster.
This framework ensures every episode delivers value and gives you a clear structure to follow.
Define Your Episode Format
First, choose a consistent format. This simplifies your planning and lets listeners know what to expect.
Common formats include:
- Solo Show: You speak directly to your audience on a specific topic. Great for building authority.
- Interview: You bring on a guest to share their expertise. Adds fresh perspectives.
- Co-hosted: Two or more hosts discuss topics. Chemistry is key.
Your chosen format dictates your planning. For an interview, you'll focus on guest research and questions. For a solo show, you'll structure your key talking points.
Create a Simple Bullet-Point Outline
An outline is your roadmap. It keeps you on track and ensures you cover all key points. A simple bullet-point list is all you need.
A solid outline has three parts:
- The Hook (Intro): Start with a compelling question or surprising fact. In the first 30 seconds, tell the listener "what's in it for them."
- The Core Content (Body): Break your topic into 3-5 main points. List examples or data for each.
- The Call-to-Action (Outro): End with a single, clear action for the listener, like subscribing or visiting your website.
Common Mistake: Rambling without a clear direction. An outline prevents this, leading to a better listener experience and a much faster editing process.
With millions of podcasts available, a well-structured episode is essential to capture and hold listener attention. Think of your recording not just as an episode, but as the source material for an entire week of marketing content. Explore more insights on the growth of podcast listenership to see the scale of the opportunity.
Step 2: Choose Your Podcast Recording Gear
You don't need a professional studio budget to get professional sound. The goal is to capture clean, clear audio with reliable gear you can set up quickly every time.
Your setup is the foundation of a smooth recording workflow.
The Microphone: Your Most Important Tool
If you invest in one piece of gear, make it your microphone. A good mic captures clean audio, which means less time fixing problems in post-production.
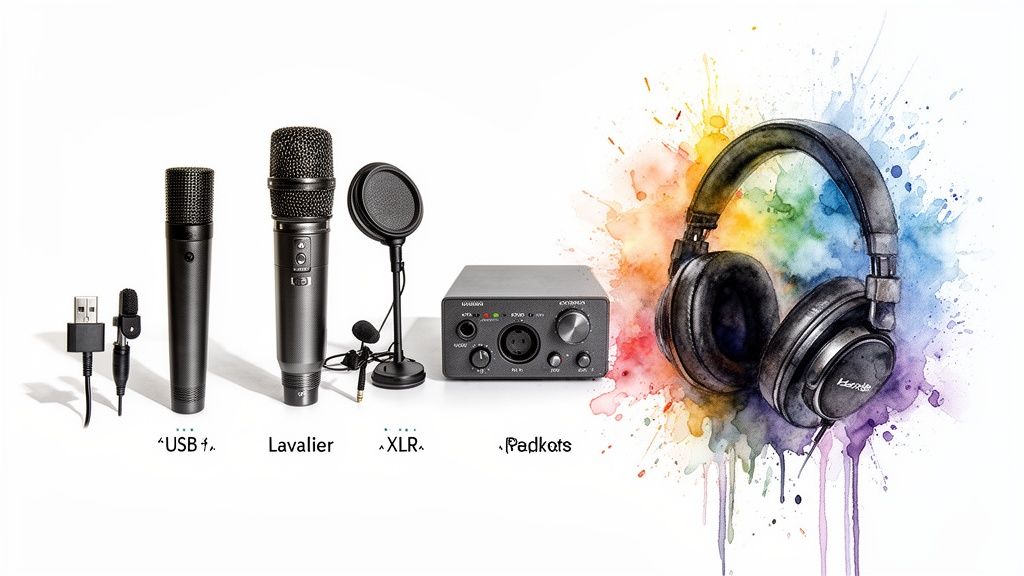
Here are the three main types:
- USB Microphones: Perfect for beginners. They plug directly into your computer and offer excellent sound quality for the price. Ideal for solo shows or remote interviews.
- XLR Microphones: The professional standard. They connect to an audio interface, delivering superior sound and flexibility for multi-person recordings in the same room. Our guide on a two-person podcast setup covers this.
- Lavalier (Lapel) Mics: Small clip-on mics ideal for video podcasts where you need to be hands-free.
Must-Have Accessories for Better Audio
A few inexpensive accessories will significantly improve your sound quality.
- Audio Interface: Required for XLR mics. It converts the mic's signal for your computer and gives you physical volume controls.
- Monitoring Headphones: Non-negotiable. Wear them while recording to hear exactly what the mic is picking up, allowing you to catch issues like background noise or plosives in real-time.
- Pop Filter: A simple screen placed in front of your mic to soften the harsh "p" and "b" sounds (plosives). This is a cheap fix for a major editing headache.
Getting your gear right is the first step. For more, learn how to improve audio quality through proper technique.
Step 3: Set Up and Prepare for Recording
With your plan and gear ready, it's time to set up your recording environment. The habits you build here will save you hours of editing later.
The goal is to create a pre-flight checklist you can run through every single time.
Optimize Your Recording Space
You don’t need a soundproofed studio. The enemy of clean audio is reverb (echo) from sound bouncing off hard surfaces like walls and floors.
To reduce reverb:
- Choose a small room: Less space for sound to bounce. A walk-in closet is perfect.
- Add soft furnishings: Use rugs, curtains, pillows, or blankets to absorb sound.
- Eliminate noise: Turn off fans, air conditioners, and phone notifications. Close windows.
Quick Test: Clap your hands in the room. If you hear a sharp, ringing echo, add more soft materials. If you hear a dull thud, you're good to go.
Master Your Microphone Technique
How you speak into the mic is as important as the mic itself.
- Maintain consistent distance: Keep your mouth about 2-4 inches (a hand's width) from the microphone.
- Speak across the mic: Position the mic slightly to the side of your mouth, not directly in front of it. This prevents bursts of air (plosives) from hitting the mic and creating a popping sound.
Learning how to do voice over like a pro can provide more valuable techniques.
Set and Monitor Your Audio Levels
Before recording, you must set your audio levels to get a strong signal without distortion.
In your recording software, watch the audio meter. As you speak, the level should stay in the "yellow" range, occasionally touching the "red." If it’s constantly in the red, your audio is "clipping" and will sound distorted.
Common Mistake: Forgetting to do a test recording. Always record 30 seconds of you talking at your normal volume and listen back with headphones to ensure the sound is clean and clear. Adjust the gain on your mic or interface as needed.
Step 4: Record Your Episode
With everything set up, you're ready to record. The software you use will depend on your format.
- For Solo Recording: Free software like Audacity or paid tools like Adobe Audition are excellent choices. Simply select your microphone, check your levels, and hit record.
- For Remote Interviews: Do not use Zoom's recording feature. Its audio is highly compressed. Instead, use a dedicated platform like Riverside.fm or Descript. These tools record each person’s audio locally on their own computer, resulting in separate, high-quality audio files. This is a game-changer for editing. For a detailed walkthrough, see our guide on how to record a podcast remotely.
Having separate audio tracks for each speaker is non-negotiable for remote interviews. It allows you to adjust volumes independently and remove background noise from one person's track without affecting the other.
Step 5: Edit and Repurpose Your Podcast
The recording is done, but the work isn't over. Post-production is where you polish your raw audio into a professional episode and, more importantly, turn it into a content engine for promotion.

Basic Audio Editing Checklist
The goal is a clean, enjoyable listening experience, not perfection.
- Trim the Start and End: Cut any dead air or chatter before you start and after you finish.
- Remove Major Mistakes: Edit out long pauses, verbal stumbles, or off-topic tangents.
- Add Intro/Outro Music: Place your theme music on a separate track and use fades for a smooth transition.
- Level the Audio: Use your software’s normalization or compression tools to ensure consistent volume throughout the episode.
Tools like Audacity (free) or Descript (subscription) are perfect for these tasks.
How to Turn One Episode into a Week of Content
The most effective way to promote your podcast is by creating short-form video clips for social media. Your long-form episode is a goldmine of shareable moments perfect for TikTok, Instagram Reels, and YouTube Shorts.
Manually finding and editing these clips is time-consuming. This is where you can leverage AI to speed up your workflow.
Flowjin is an AI platform for busy creators and marketers that automates the creation of social-ready video clips from your podcast. It helps you turn a single recording into a full week of promotional content in minutes, not hours.
Here’s the simple workflow using Flowjin first:
- Upload Your Audio or Video: Start by uploading your final MP3 or video file to Flowjin. You can also paste a YouTube or podcast link if your episode is already live.
- Let AI Find the Best Moments: Flowjin's AI analyzes your content and automatically identifies the most engaging and shareable clips—the key insights, strong opinions, and memorable quotes.
- Review and Customize: Flowjin presents the AI-selected clips for your approval. You can then easily customize them with branded templates, dynamic captions, and your logo to create polished, ready-to-share videos.
This repeatable process turns your podcast from a single piece of content into a sustainable growth engine. Instead of spending hours on manual editing, you can focus on creating your next episode. For more options, check out our guide on the best podcast clip maker apps.
Common Questions About Recording a Podcast
Even with a solid plan, questions come up. Here are quick answers to some of the most common ones.

How Long Should a Podcast Episode Be?
There is no magic number. An episode should be as long as it needs to be to deliver value. Many successful shows are 20-40 minutes long, fitting the average commute. The key is to cut the fluff. Check your analytics to see where listeners drop off and adjust your length accordingly.
Can I Record a Podcast with Just My Phone?
Yes, you can, especially when you're just starting out. For better quality, consider an external plug-in microphone designed for smartphones. However, a dedicated USB microphone is the single best upgrade for achieving a more professional sound with minimal setup.
How Do I Add Intro and Outro Music?
This is done during editing. In your software (Audacity, Descript, Adobe Audition), import your music file onto a separate audio track. Place it at the beginning and end of your episode and apply a "fade in" and "fade out" effect for a smooth, professional transition.
What Is the Best Software for Recording a Podcast?
It depends on your format:
- For solo shows: Audacity or GarageBand are free and powerful enough.
- For remote interviews: Use a dedicated platform like Riverside.fm or Zencastr. They record each speaker's audio locally, which is essential for high-quality remote recordings and avoids the compressed audio of video call software.
Ready to turn your freshly recorded podcast into a social media content machine? Flowjin is an AI-powered platform that automatically finds the best moments in your audio and transforms them into branded, captioned video clips in minutes. Stop spending hours editing and start promoting your show effortlessly. Try Flowjin for free and see how fast you can grow.